Everything you need to run TradesBackbone
If you can text, you can use TradesBackbone. Here's how each part works.
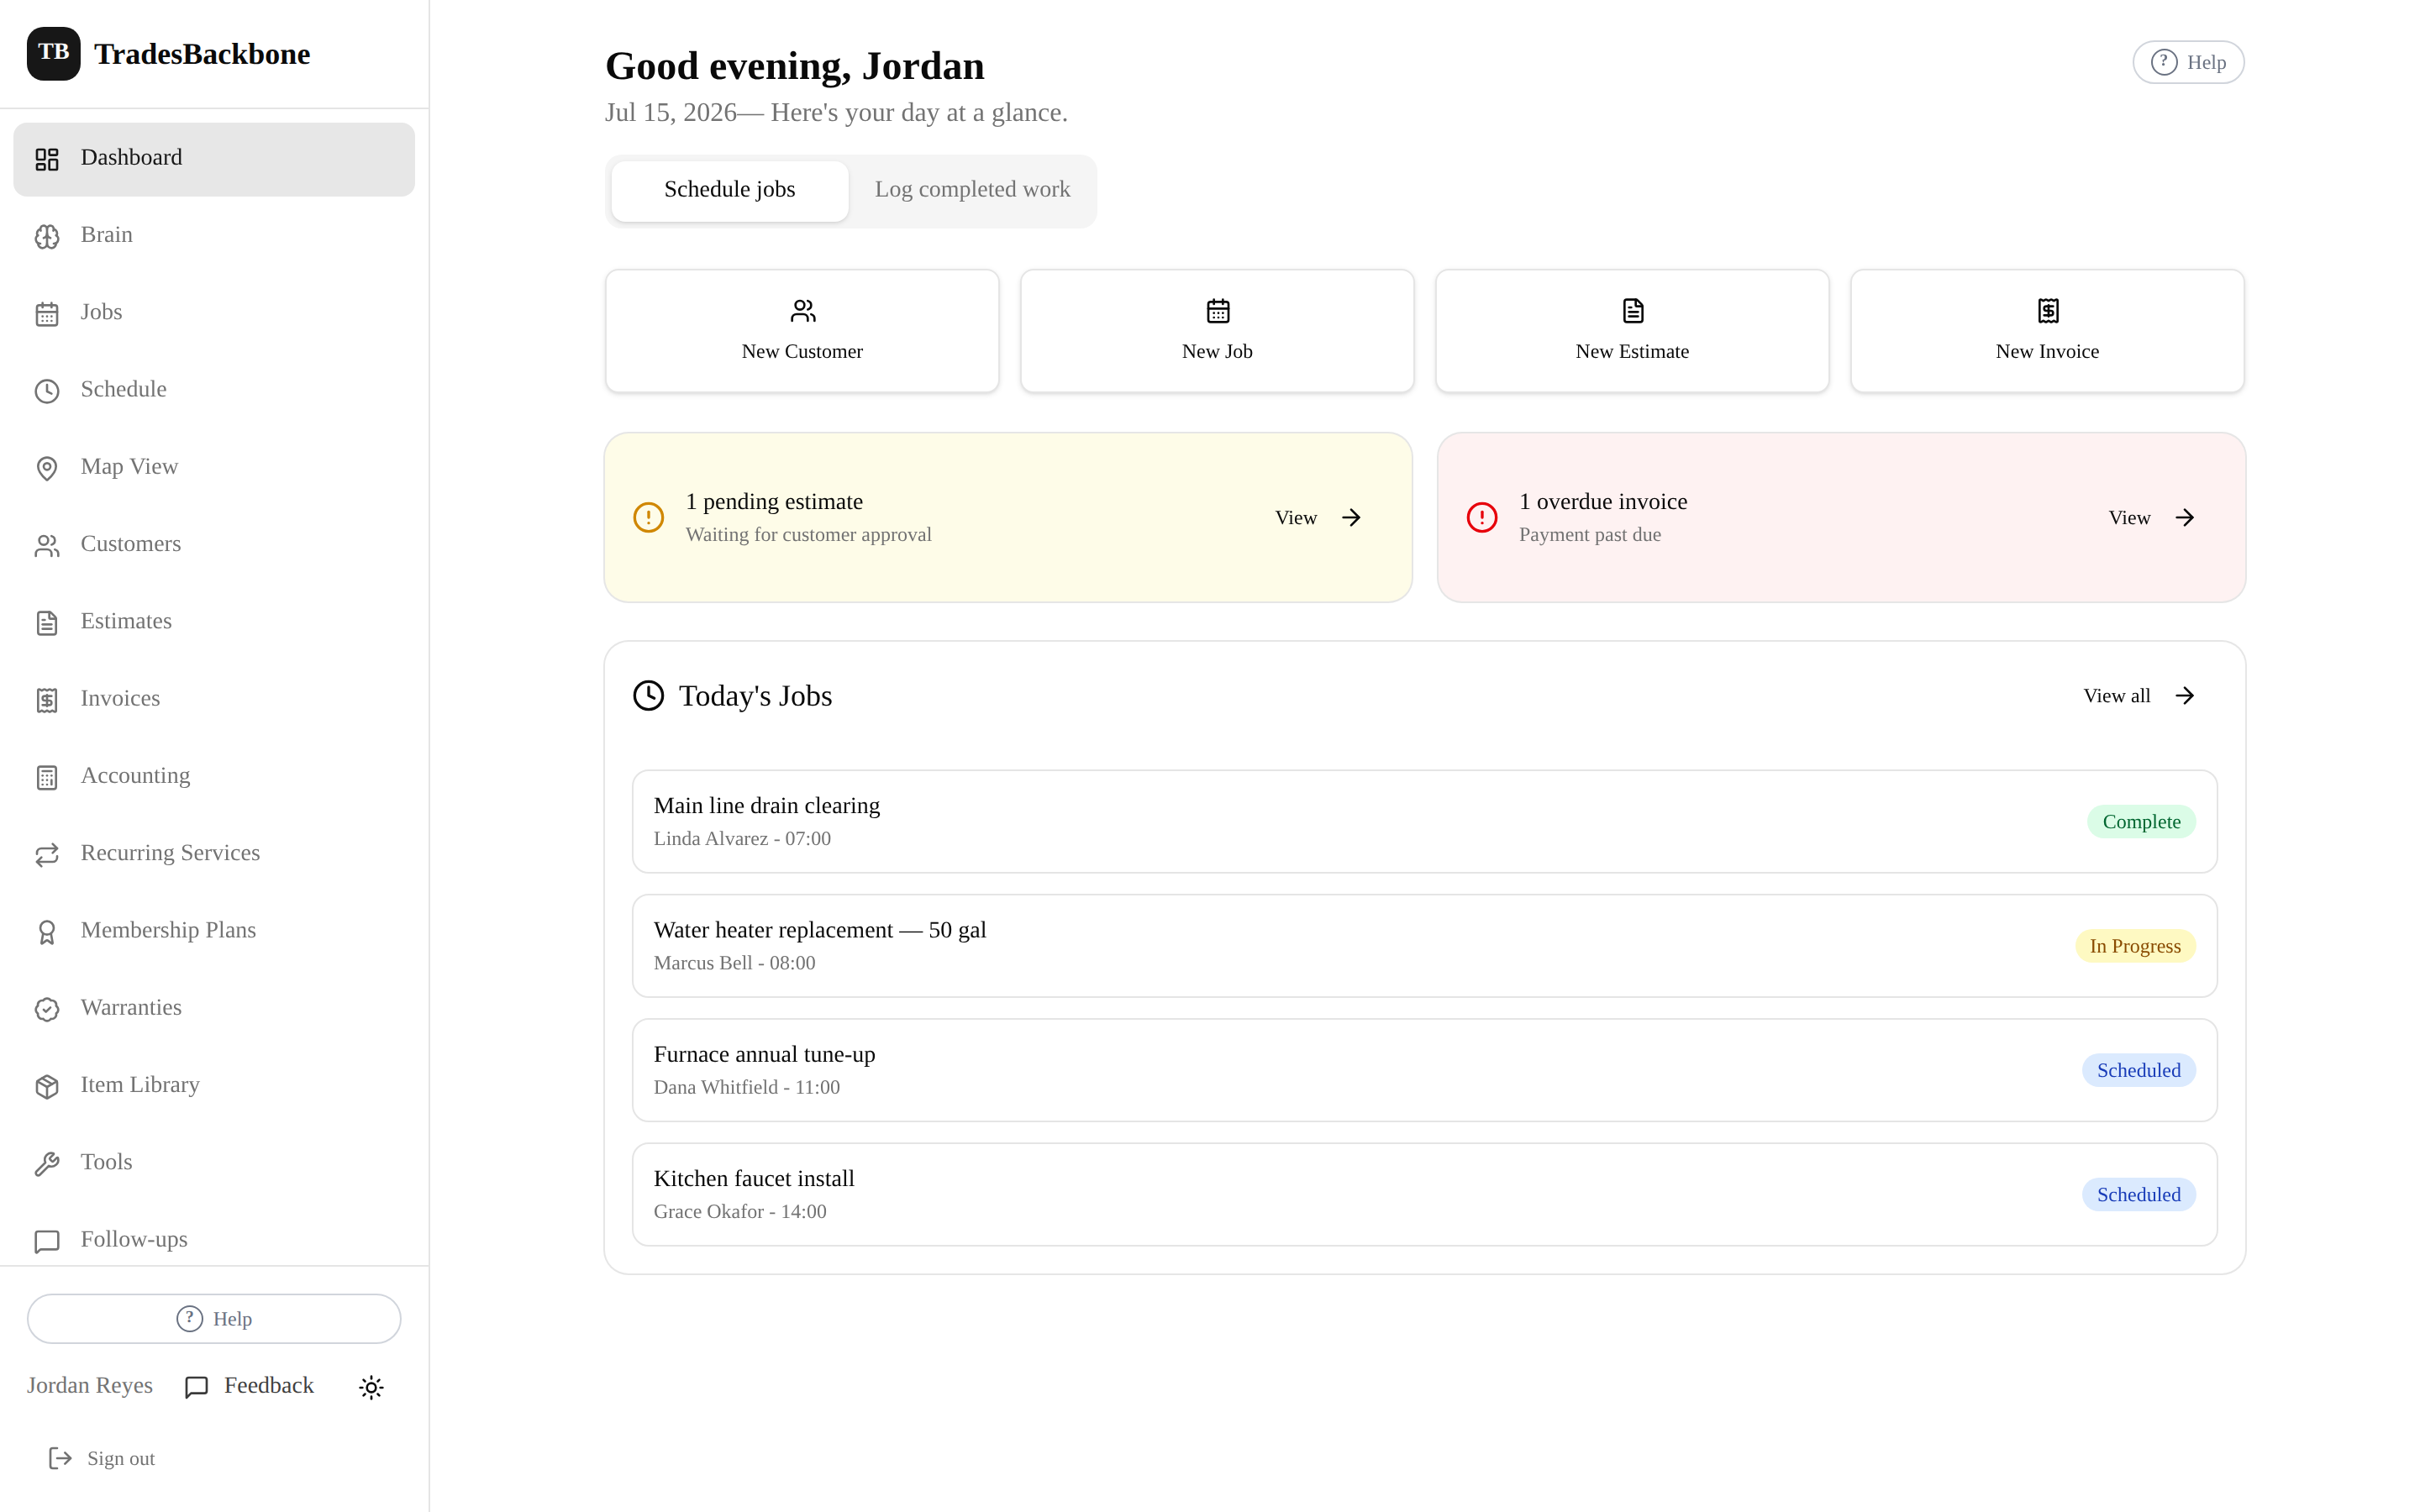
Your dashboard — today's jobs and anything that needs attention, at a glance.
You can bring your existing customers and invoices across from QuickBooks Online. It's two parts: get the file out of QuickBooks, then upload it here and match your columns to ours.
- Sign in to QuickBooks Online on a computer.
- Open the Settings menu — the gear icon in the top-right corner.
- Under the Tools heading, choose Export data. (Intuit moves this occasionally. If it isn't there, search their help center for “Export data” — that's the feature you want.)
- If it asks why you're exporting, any reason is fine — backup purposes works.
- Choose what to include. There are usually two sides: Reports (which use a date range) and Lists (your customers, vendors, products). Make sure Customers is ticked — that's your customer list.
- If it says there's too much data to export at once, narrow the date range — this year only is a good place to start. You can always import another year later; re-importing never creates duplicates.
- Export it. QuickBooks emails you a link or downloads a .zip file. Save it somewhere you can find it.
You don't have to use Export data. From Reports, open Customer Contact List and choose Export to Excel — that single .xlsx works here too. It comes out as a printed report, with your company name across the top and the whole address in one cell; we read that shape and split the address into street, city, state and ZIP for you. The same goes for the Vendor and Employee contact lists, though see below for what we do with those.
- Customers and invoices — yes. Invoice totals come across; individual line items don't. Imported the wrong file? Every import can be undone in one step from Recent imports on the Import screen.
- Vendors — yes. Your vendor list (QuickBooks' Vendor Contact List or vendor export, or any spreadsheet) lands in Supply → Vendors: name, contact, email, phone, address, your account number, terms, notes and the 1099 flag. Vendors you already have are matched by name, and you choose to skip them or update them. The whole import can be undone. There's a vendor template on the Import screen if you're starting from scratch.
- Employees — no. Your team gets added by invitation, so each person has their own login: Settings → Team.
- Accounting reports (Balance Sheet, Profit and Loss, General Ledger, Trial Balance, Journal) — no. They're figures, not customers, and there are no customer rows in them to import. Upload one and we'll tell you that rather than making a mess of it.
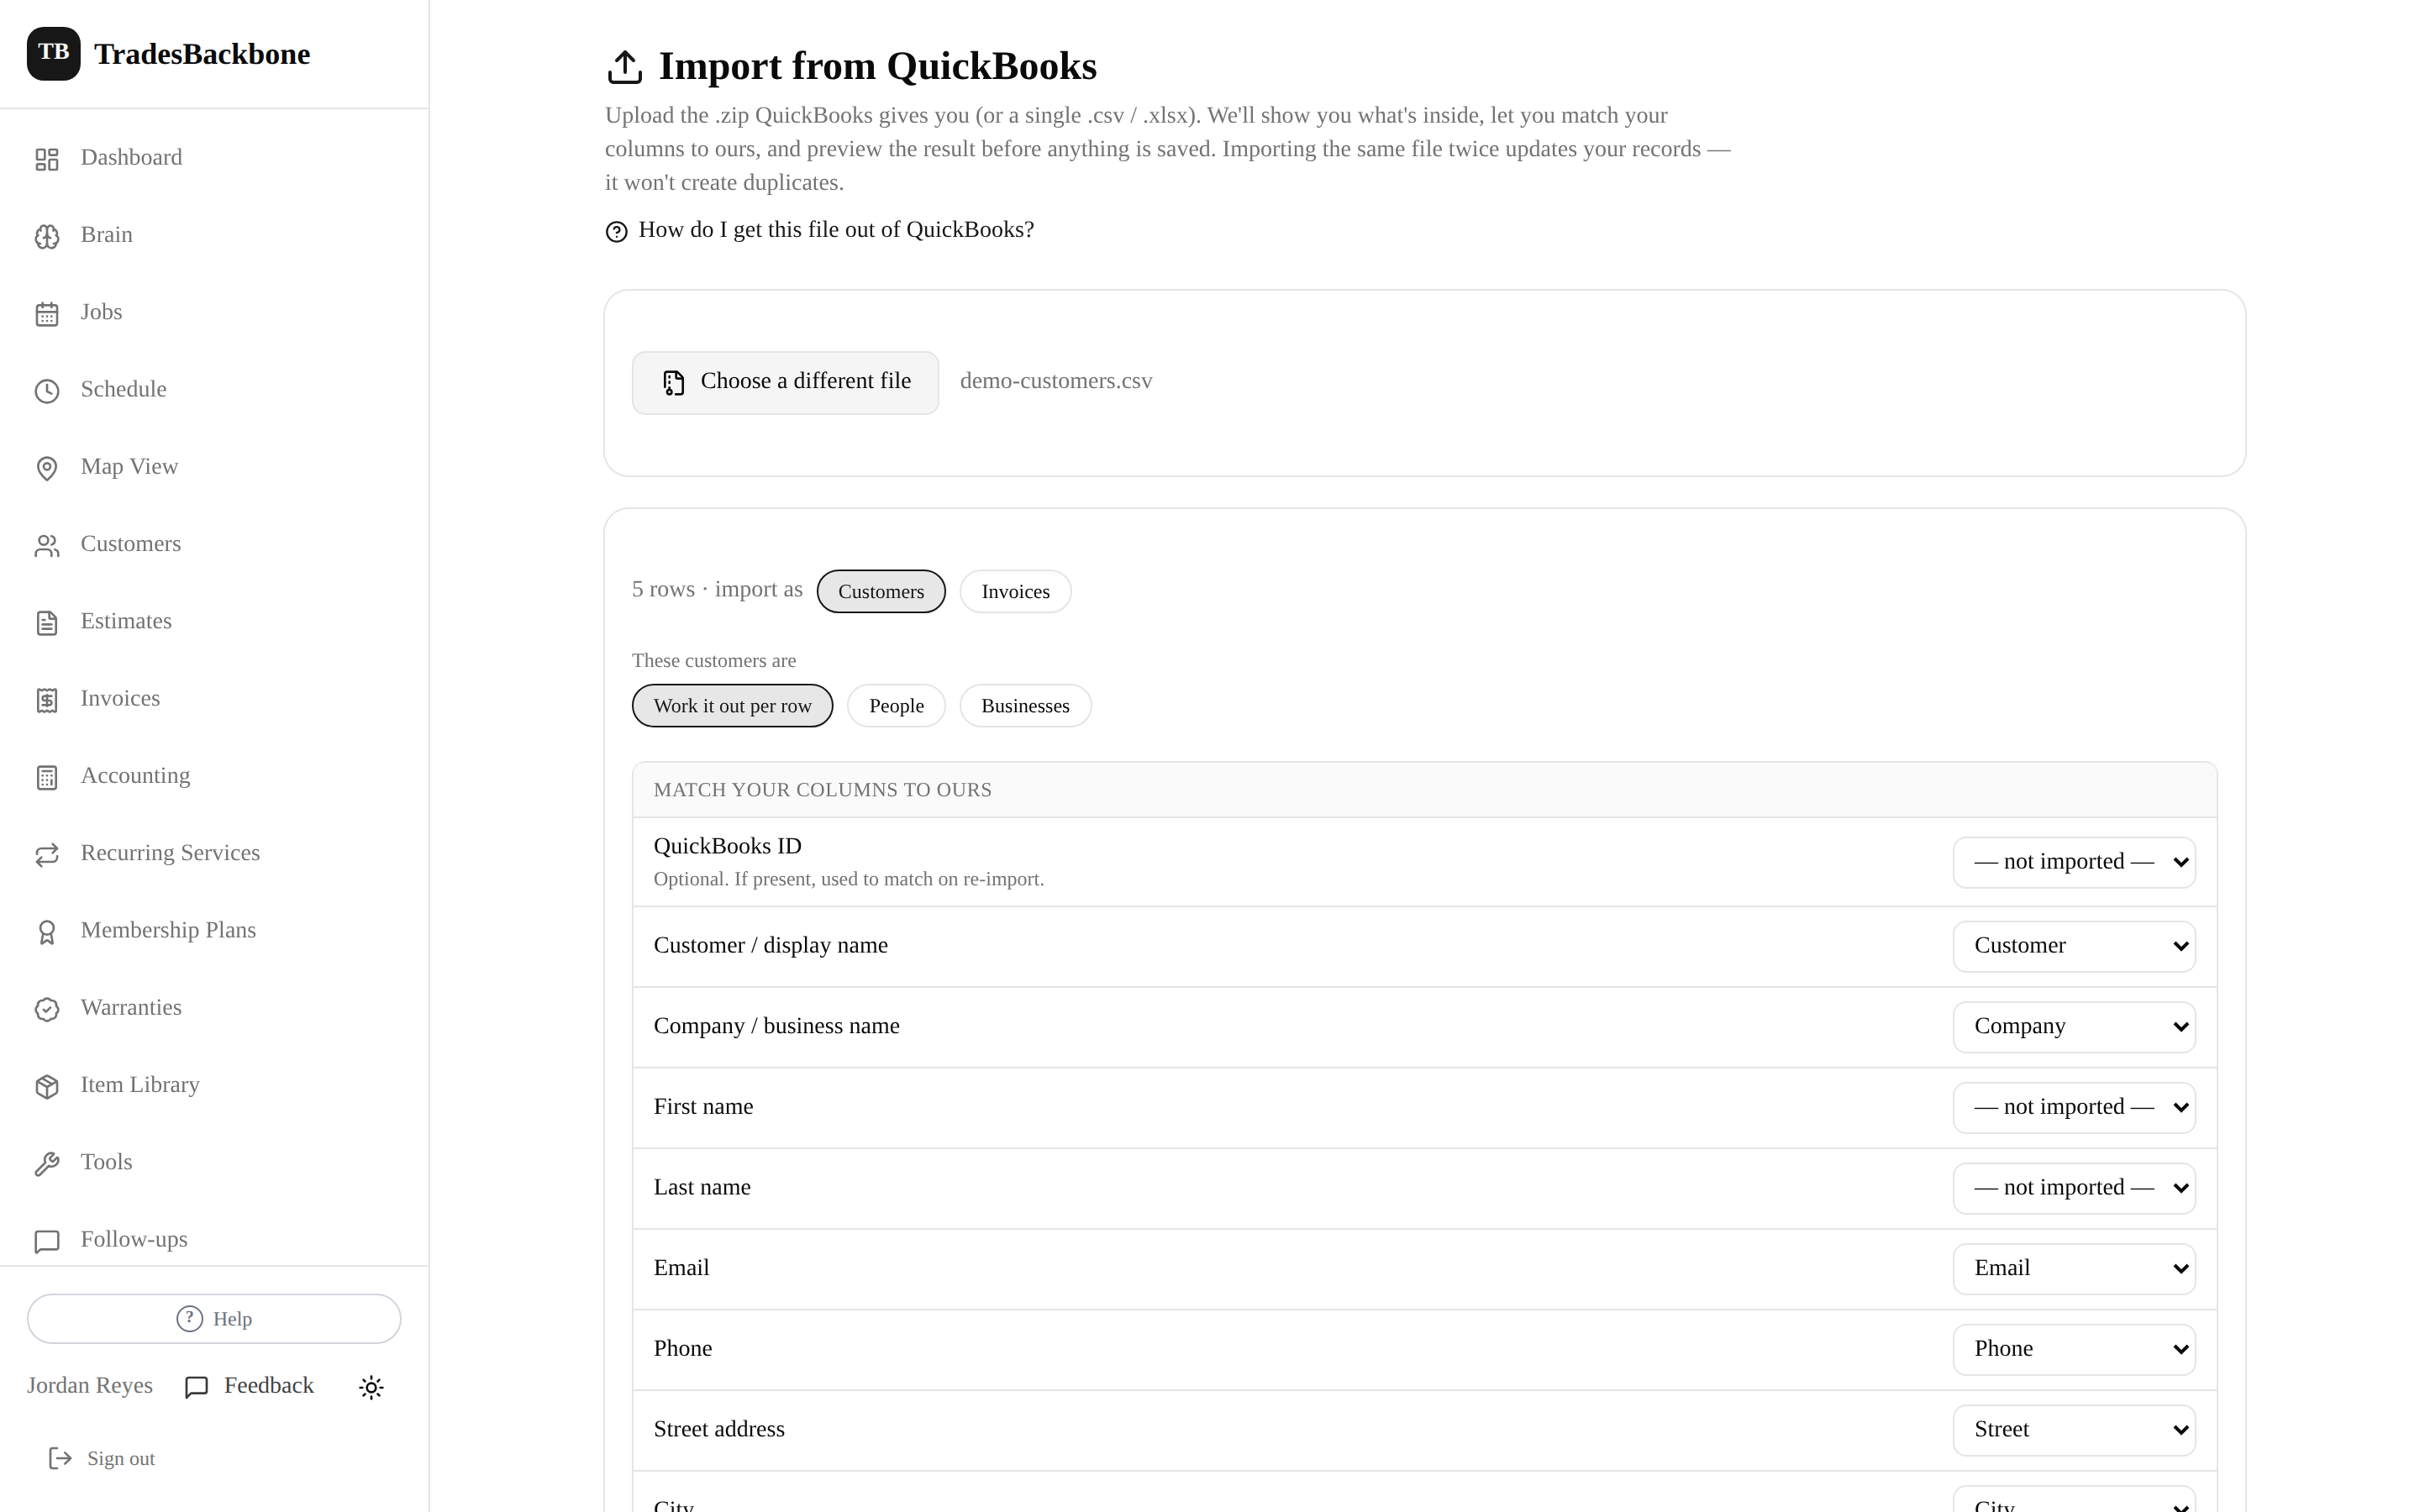
The import screen — match your columns, check the preview, then press import.
- Go to Customers → Import (or open Import from QuickBooks).
- Upload the .zip exactly as QuickBooks gave it to you — no need to unzip it first. A single .csv or .xlsx works too.
- We'll list every sheet inside and guess what each one holds. Pick the one you want — start with your Customers.
- Match your columns to ours. We pre-fill our best guess, but every row is a dropdown you can change. Anything you leave as “not imported” is simply ignored.
- Check the preview. It shows exactly what will be saved, and flags any rows that can't be imported and why. Nothing is saved until you press the import button.
- Press import. You'll get a count of what was added, updated and skipped — plus the reason for every skipped row.
- Importing twice is safe. We match on the QuickBooks ID when your export has one, and on name + email when it doesn't — so a second import updates your records instead of duplicating them.
- It also matches customers you already typed in by hand, so importing won't duplicate those either.
- Import customers before invoices. Invoices are linked to customers by name, so the customers need to exist first.
- Invoices bring across their totals, dates and status — not their individual line items, which a QuickBooks export doesn't include.
- Files up to 20MB and 5,000 rows per sheet. If your export is bigger, do one year at a time.
- Only owners and office users can import. If a column looks wrong in the preview, change the mapping and it updates straight away.
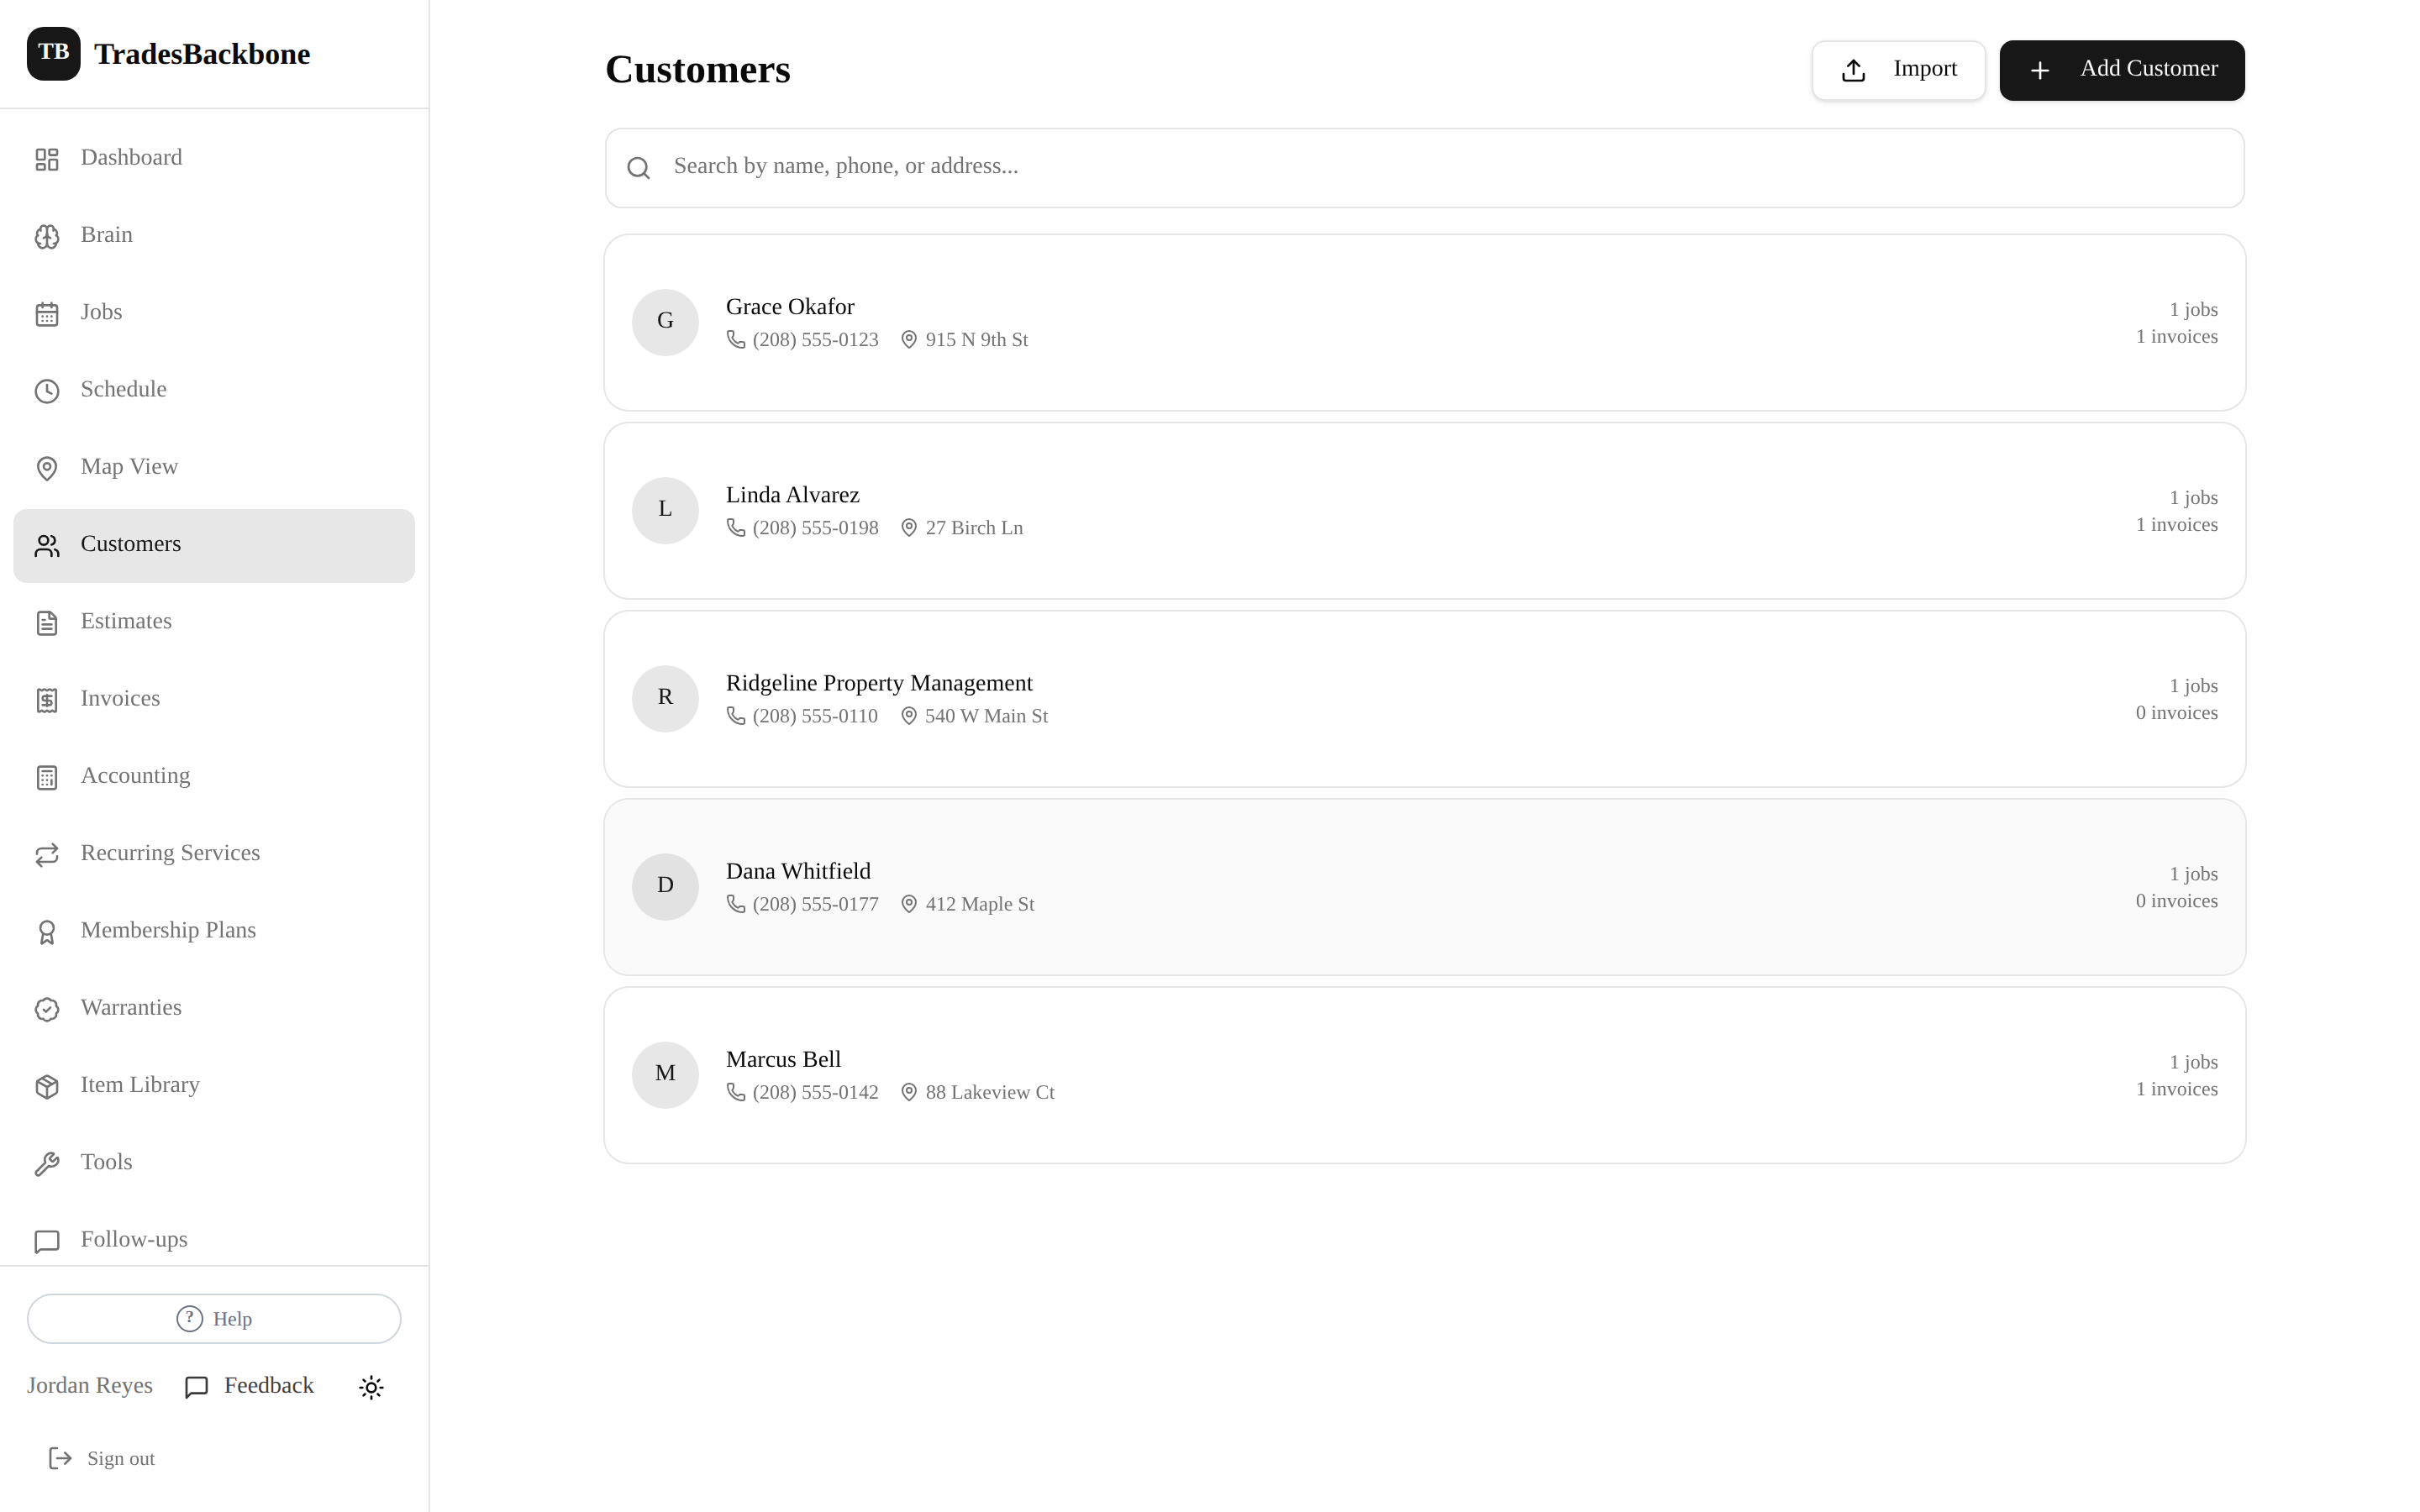
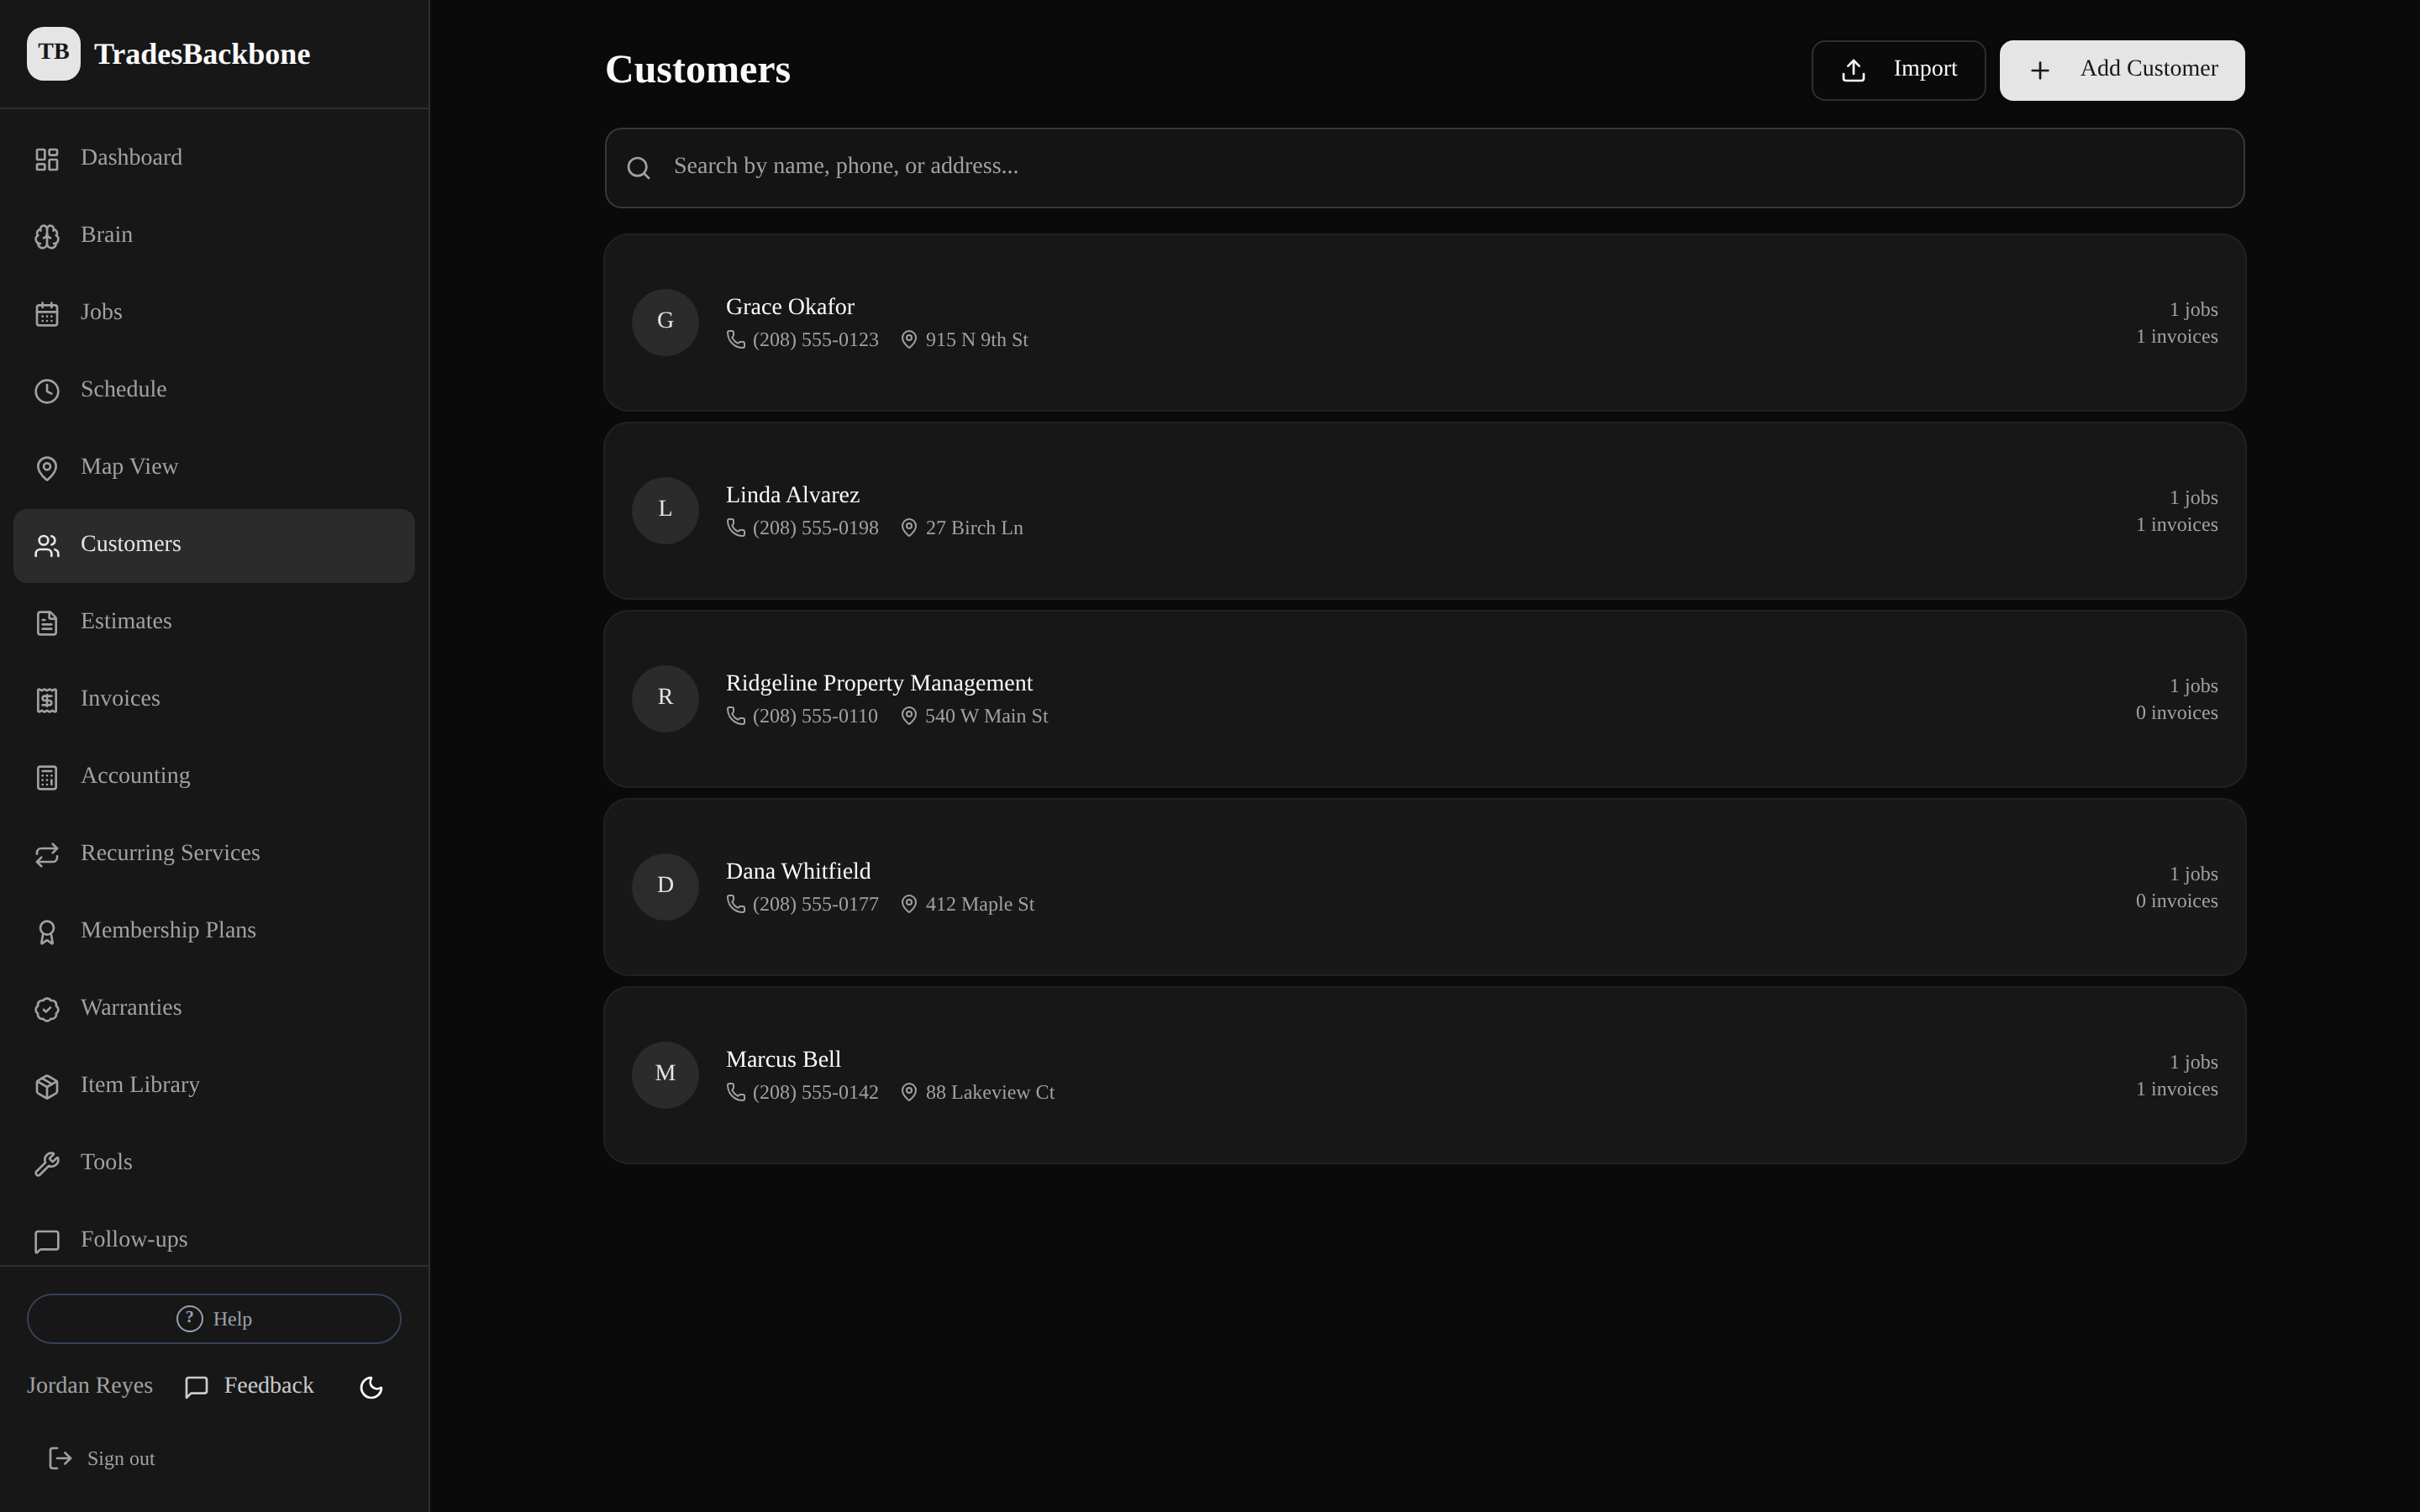
- Customers → Add Customer. Name and phone are enough; address powers the map view and directions.
- Already have a customer list? The Import button at the top of the Customers page brings it in from a QuickBooks export or any .csv / .xlsx — see Importing from QuickBooks above.
- Search by name, phone, or address. Each customer page shows their jobs, estimates, and invoices together.
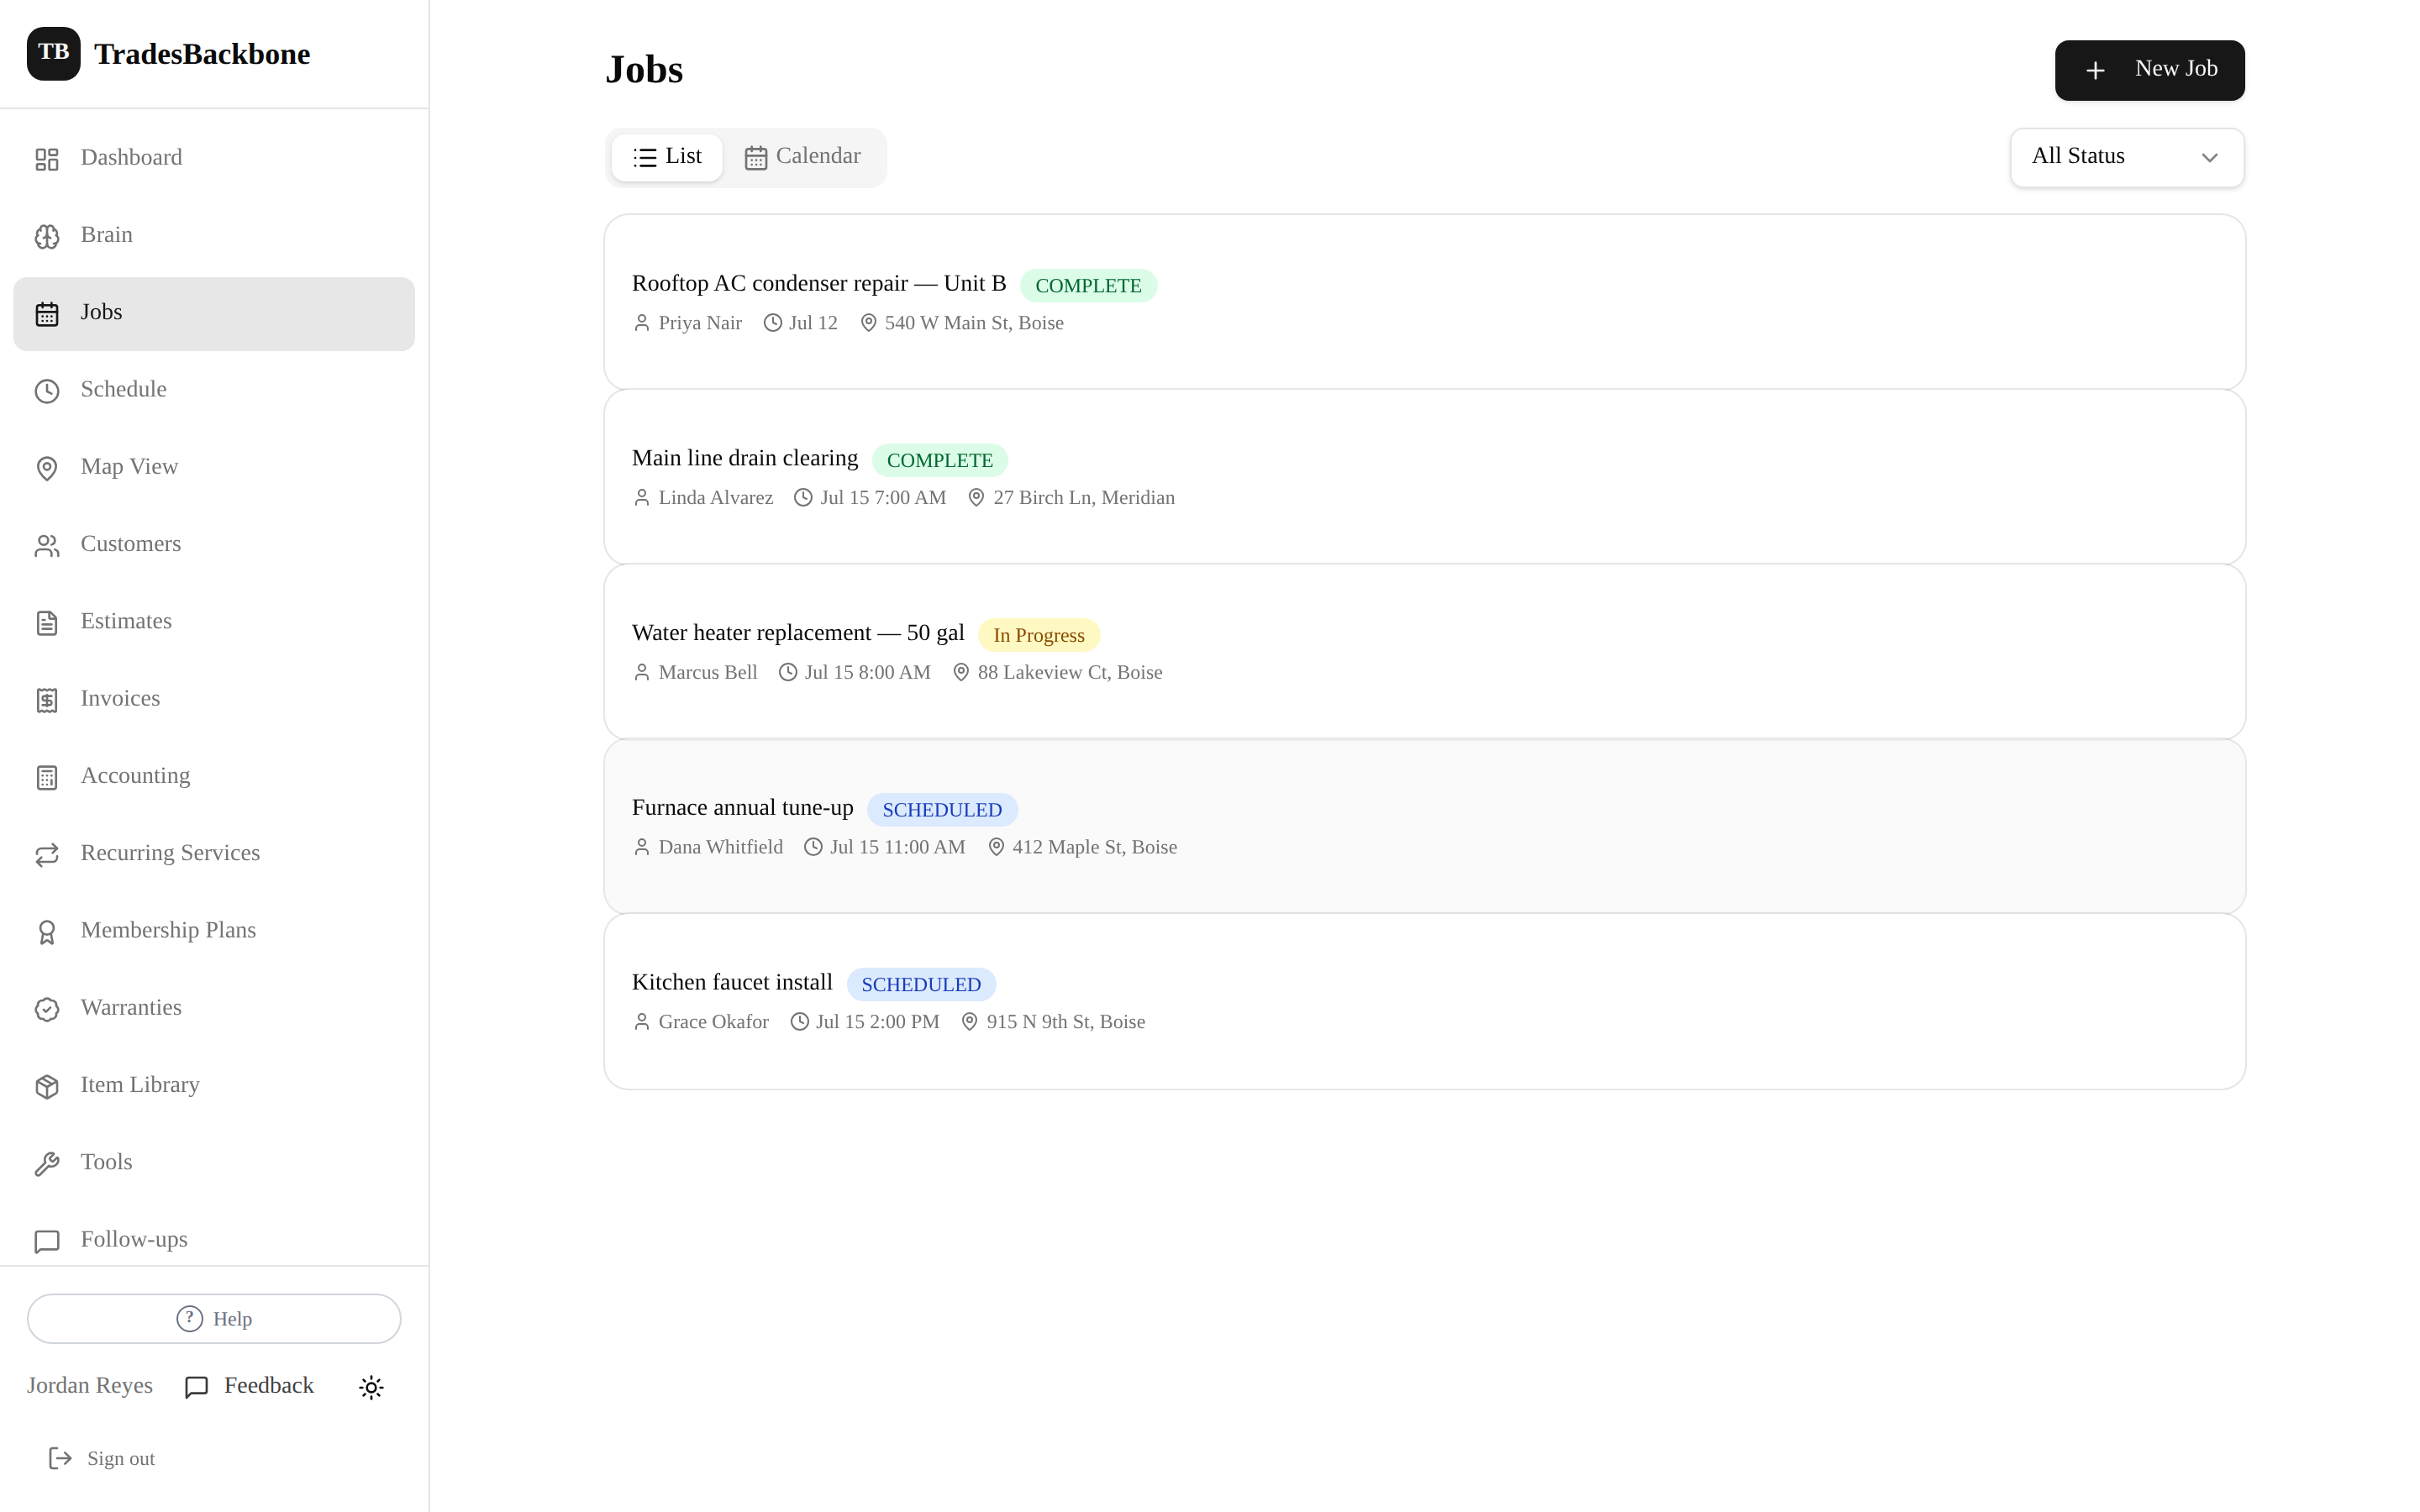
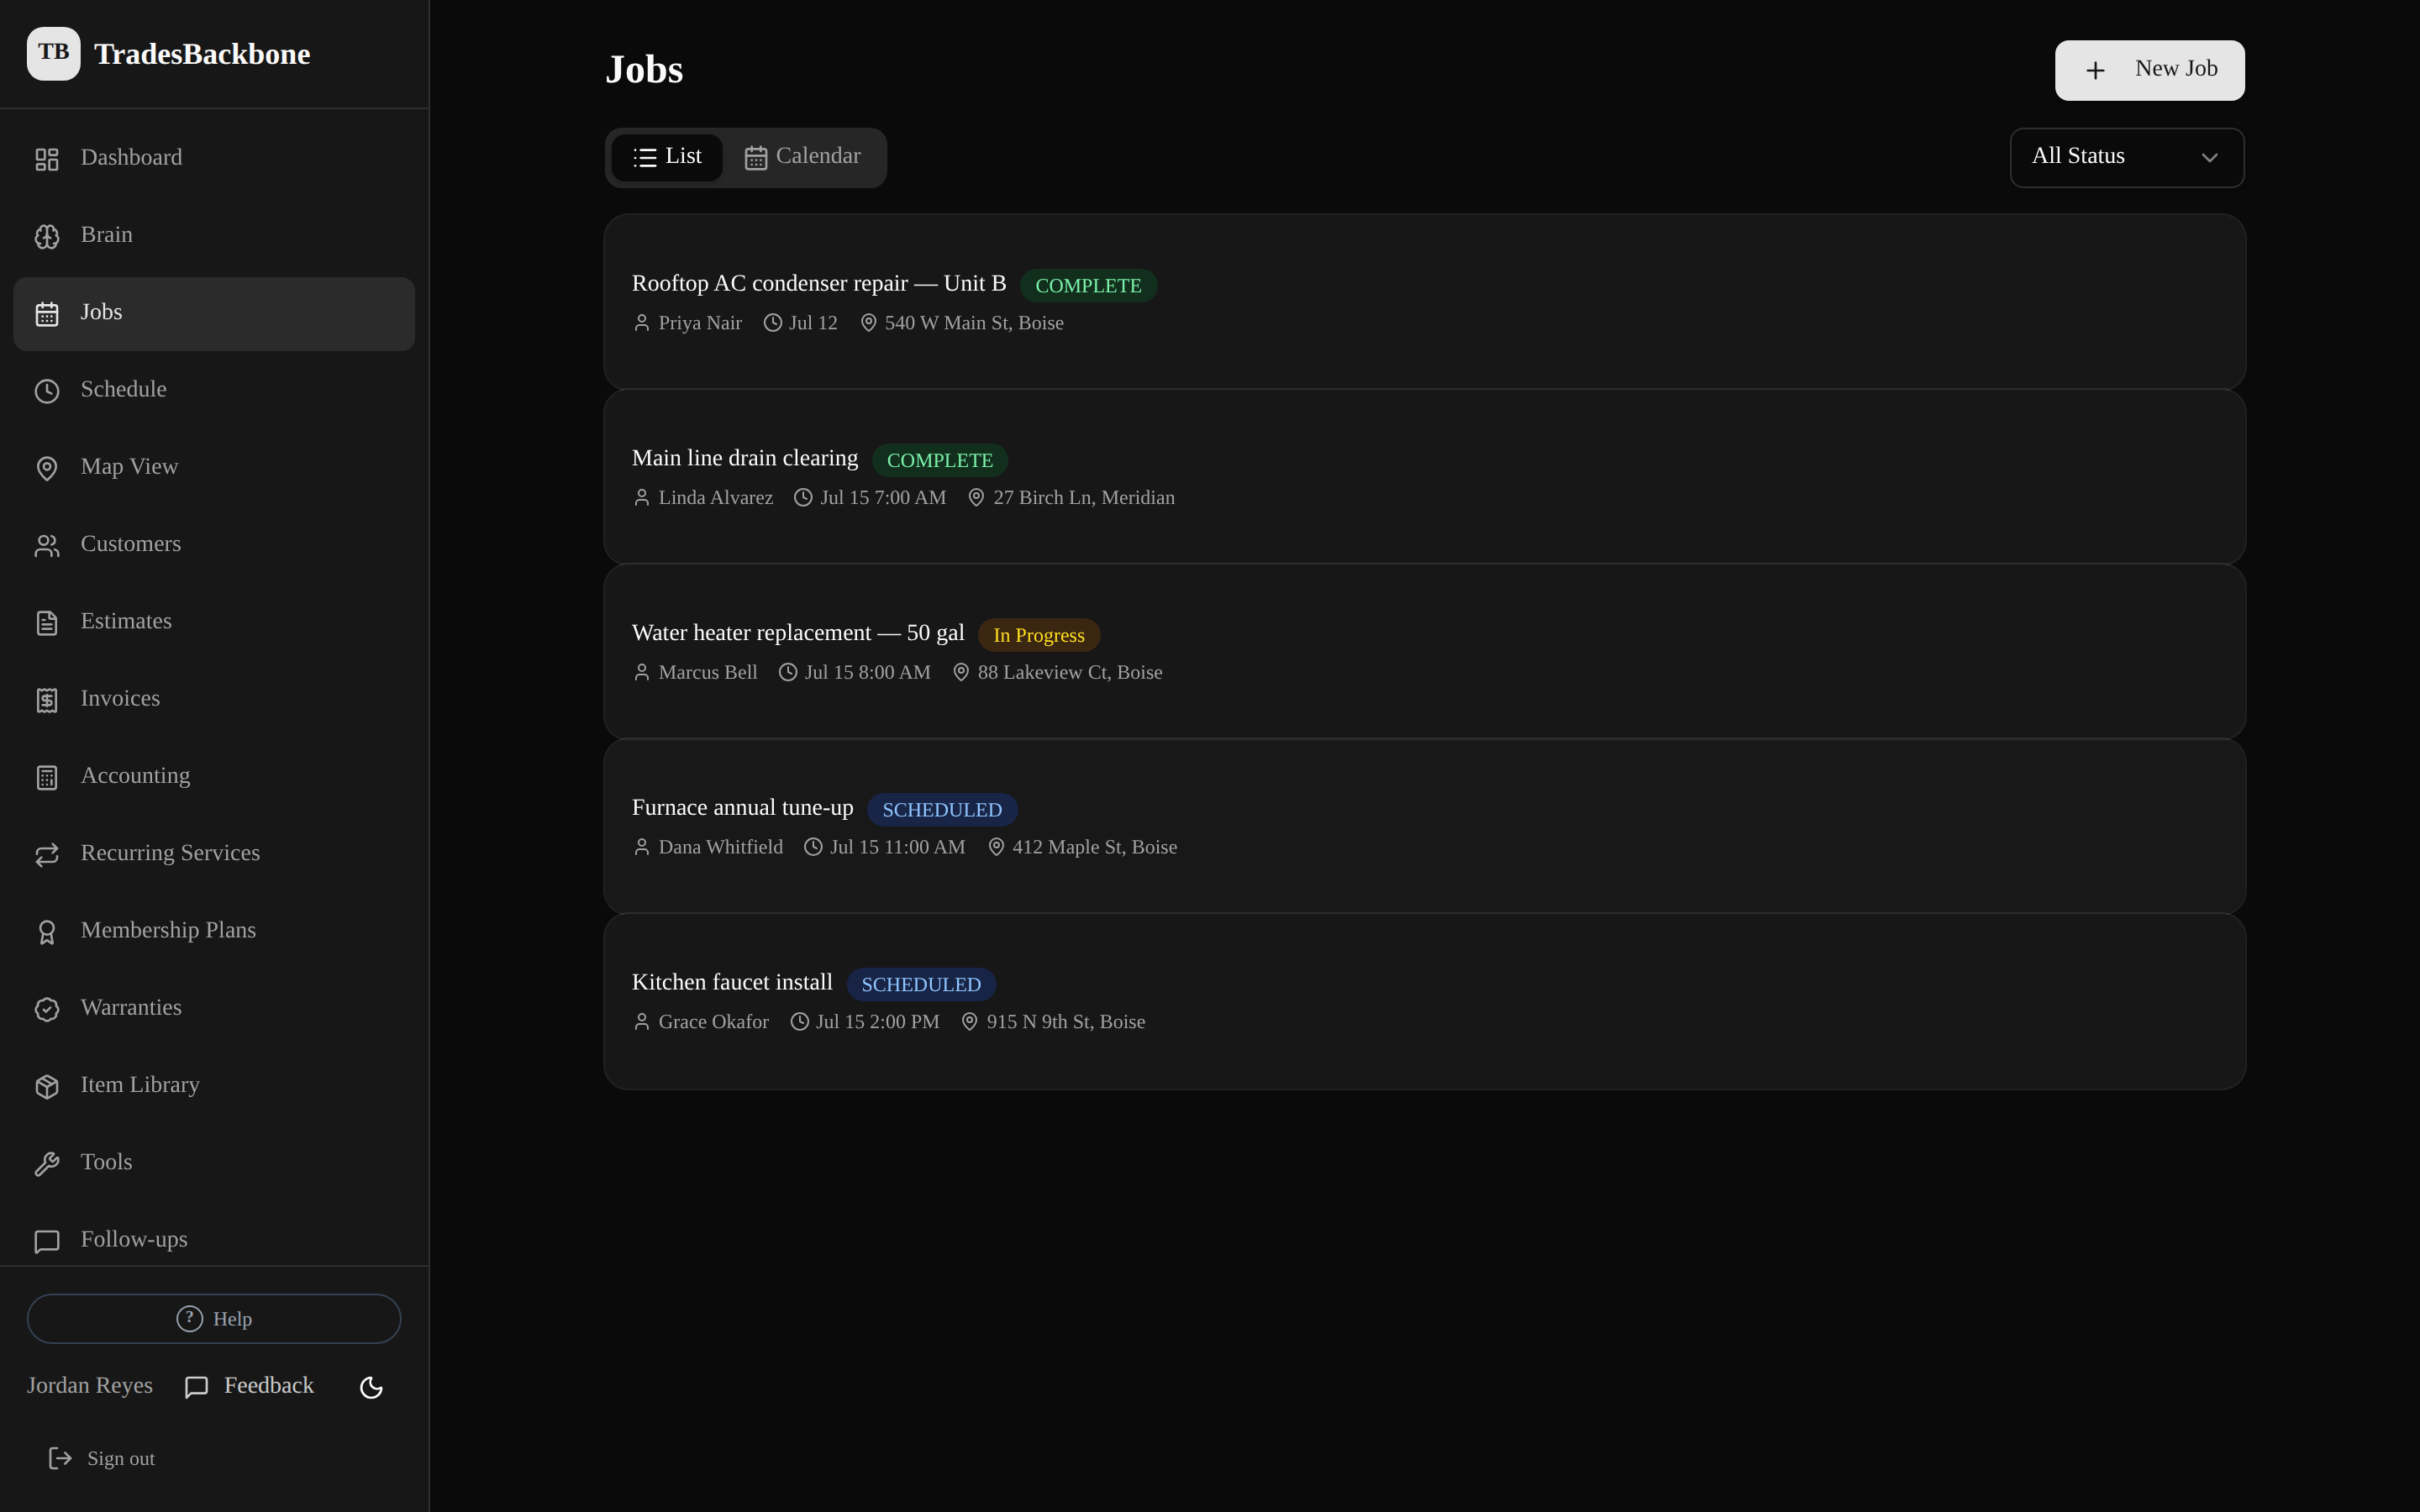
- Jobs → New Job. Pick a customer, title, schedule, and (optionally) assign a team member.
- The job address auto-fills from the customer. Fill in City and State (or ZIP) too — that's what puts the job on the map and makes the crew's directions link work. The form warns you if the address can't be mapped.
- Toggle List / Calendar views, or open Map View to see jobs by location.
- On a job, use the big buttons: Start Job → Mark Complete. Create an estimate or invoice from the job in one tap.
- Mark a job recurring (weekly → biannually) for maintenance contracts — the next 6 visits are scheduled automatically.
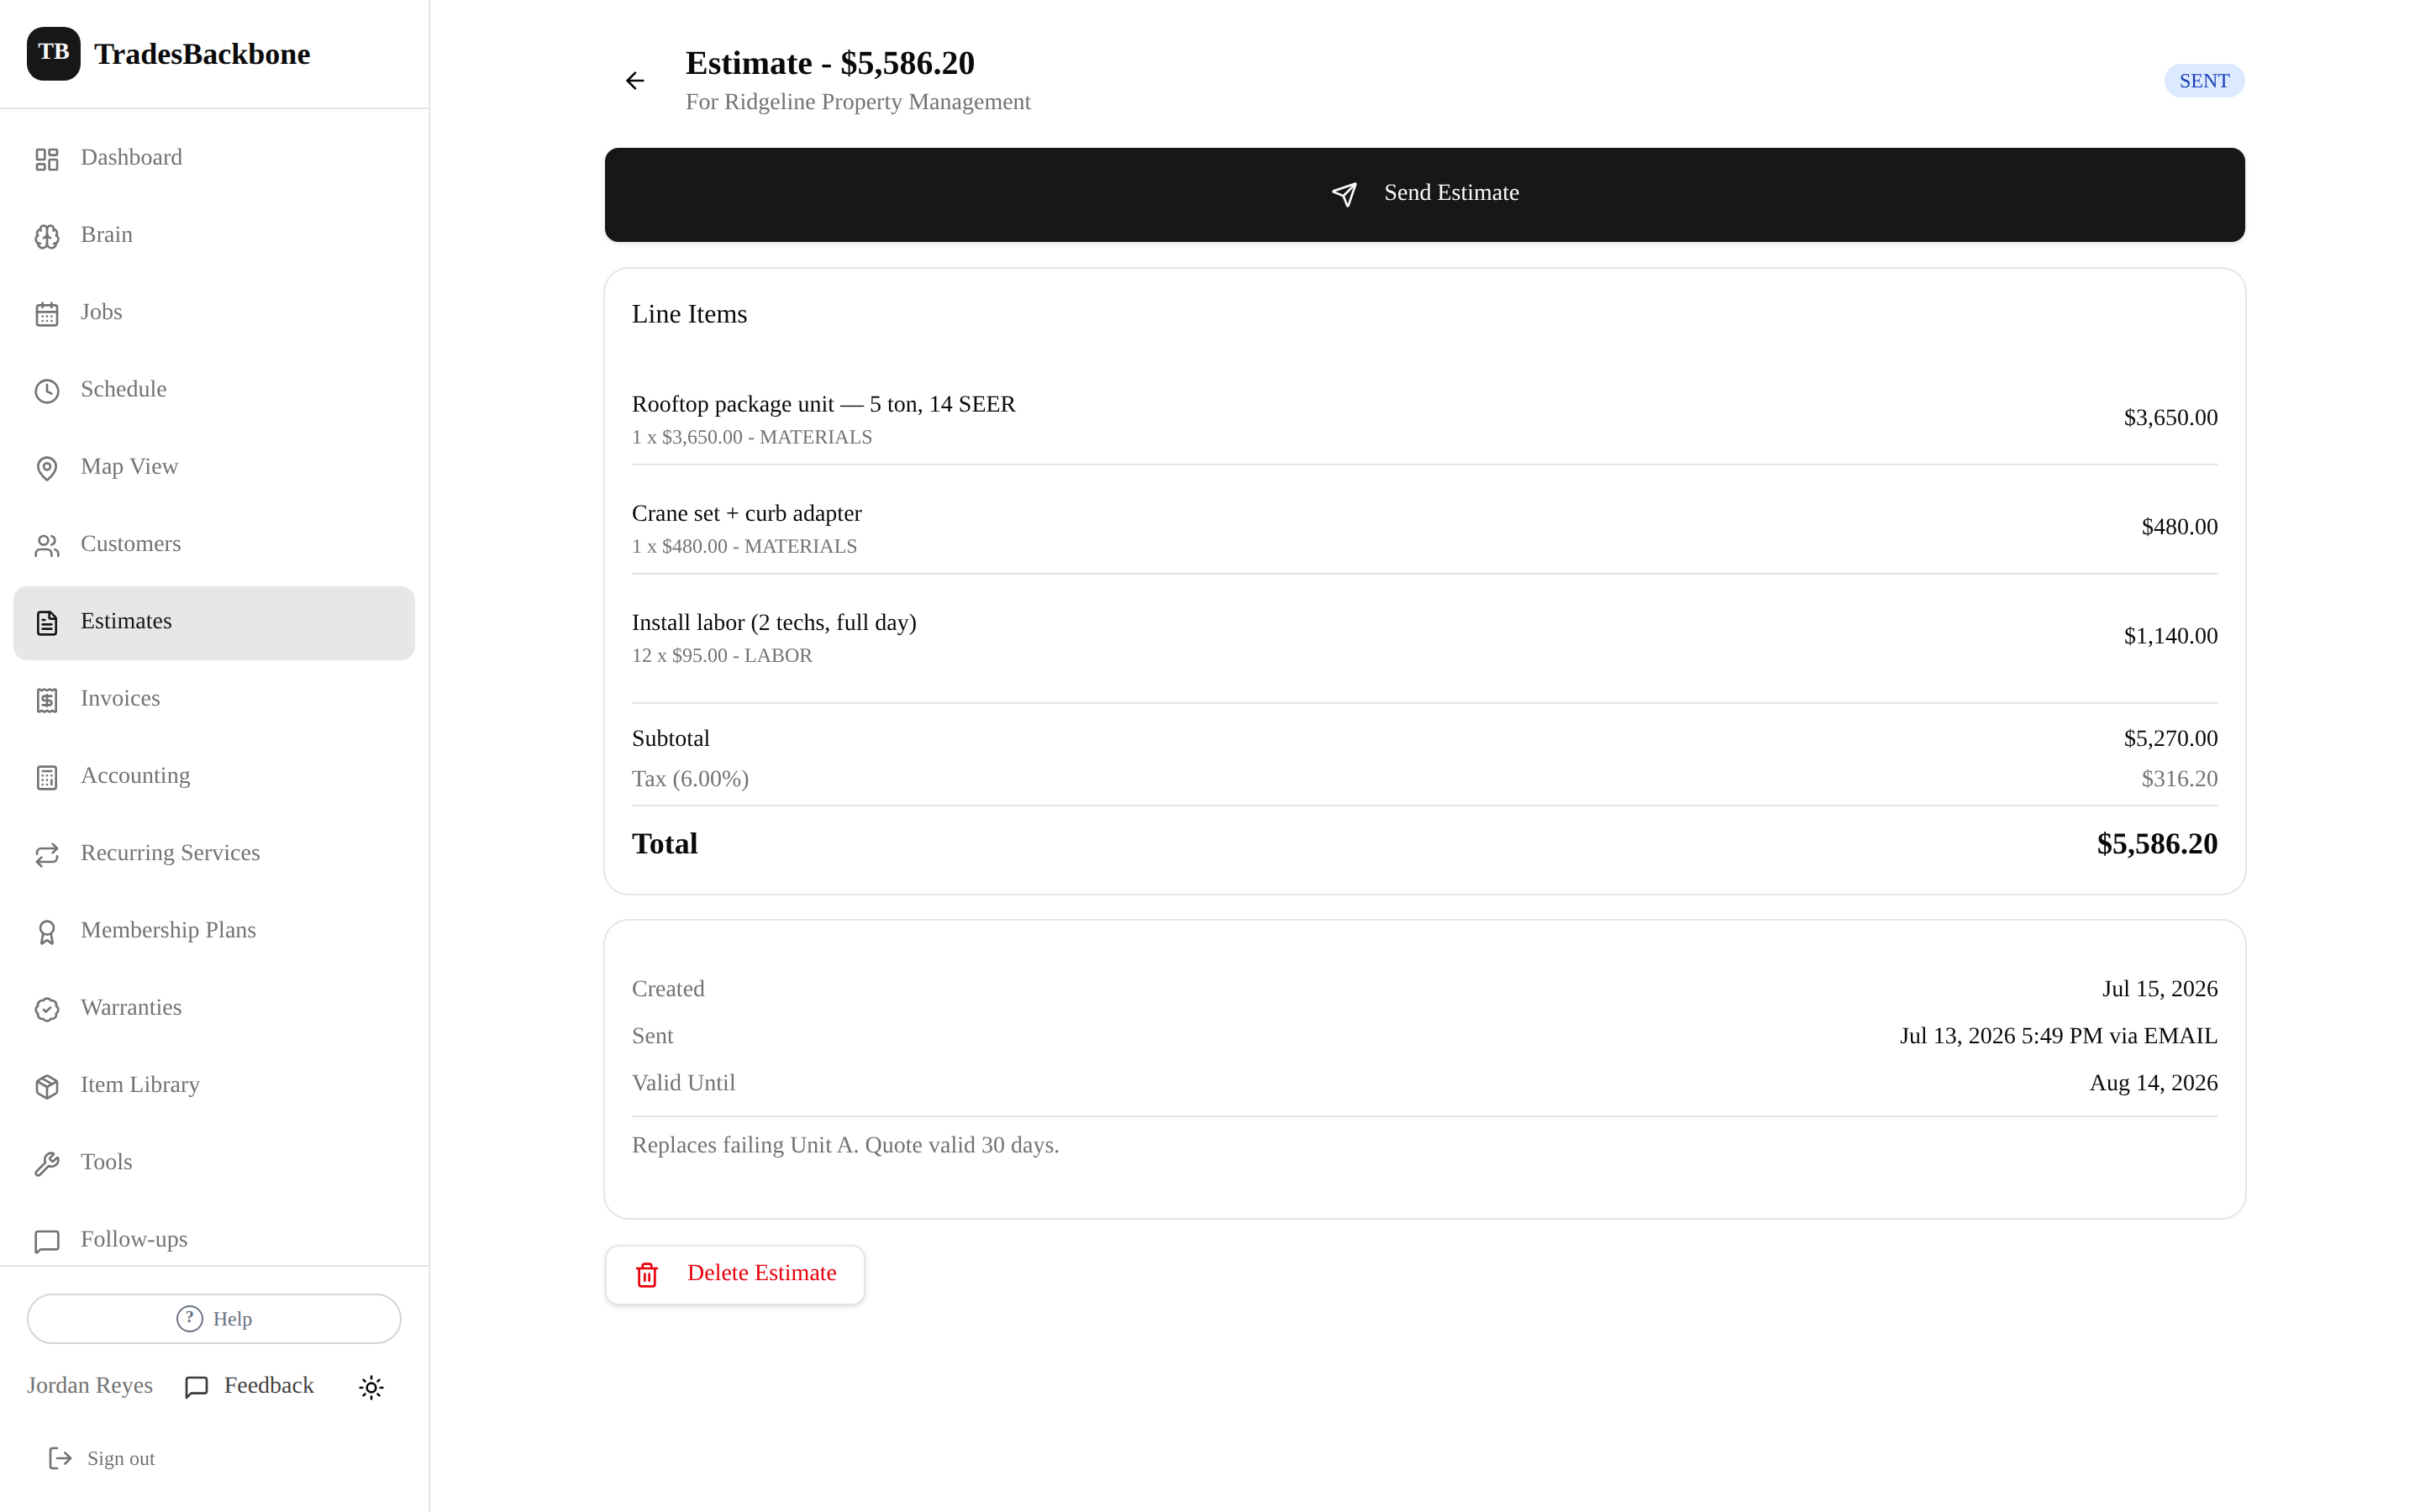
- Build line items on-site, set the tax rate, and send via text or email.
- Customers approve with one tap on the link you send.
- Once an estimate is Approved, turn it into an invoice in one tap — no re-typing line items.
Still stuck? Email support@tradesbackbone.com